
It looks really cool and it seems like it would be easy to clean. Are there many color options? Can I do it myself? How long does it last? What do I need to know about Resinous Concrete Coatings?
Resinous garage floor coatings and driveway coatings are very popular now and come in many colors. Having a top quality coating professionally installed is nice but it can be really expensive! Why would you pay that kind of money for something so simple? Painters, handymen and homeowners are installing them all over town… What could go wrong? Let’s take a look….
There are four parts to a resinous floor coating:
Crack repair product:
Most floors have small crack that need to be repaired prior to coating. A mixture of silica sand and crack repair material are worked into the void once the crack is opened up with a specialty grinder. With chips applied at 100% coverage you can get away without repairing small cracks but they may still be visible at certain angles in the right lighting.
Color coat(s):
The color that goes down on the floor first. It needs to be applied quickly so chips will stick to it if you are using a 3 coat method.
Chips:
Chips are cast into the still wet 1st or 2nd color coat. They can be applied sporadically (feeding the chickens) or with 100% coverage so the only bits of color coat you see are what soak around the edges of the chips. Feeding the chickens takes practice for the perfectionist eye.
Top coat(s):
Clear Product such as epoxy, Polyaspartic or Poly 90. The poly top coats are UV stable and several times harder than epoxy. It’s all about application. Garage floor coatings work well for one person to put it down with a squeegee while others back roll with a paint roller.
There are some important considerations when installing resinous chip coatings. The amount of solids in your product, the Ultra Violet stability, Proper Crack repair, the amount of product going on the floor and Prep. The most important of all is the prep.
Prep:
depending on the product you are putting down, there are 3 accepted methods of prep. Grinding, shot blasting or a deep acid etch. The finished product is only as good as the prep. A rough profile is required from wall to wall. Any spots that are not properly profiled or left dirty will eventually let loose.
Most do it yourself kits from the big box store will require one color coat to be quickly applied, a fast smattering of chips and 1 coat of clear epoxy which will turn amber in color over time. If prepped properly it can hold up for a while but there isn’t a lot of material to wear.
Crack repair can often times be the hang up for the DIY type. It takes practice and a few specialty tools like a grinder/vac to get it right.
A high solids product Like Graniflex covers completely in one coat and will not shrink while drying. Even though you can cover in one coat a professional installer will often thin out the first coat and send it deep into the pores of the floor for the ultimate adhesion. The chips will be cast into the slower drying second color coat with 100% chip coverage. Once the chips are properly scraped and prepped two UV stable Poly top coats are applied.
Whether taking it on yourself or hiring the big guns at least now you have an idea of what to expect. If you do go the inexpensive route just be prepared…. It will cost more to remove a failed coating before you have it professionally done the second time. Thank you for taking the time.
Jon Molden
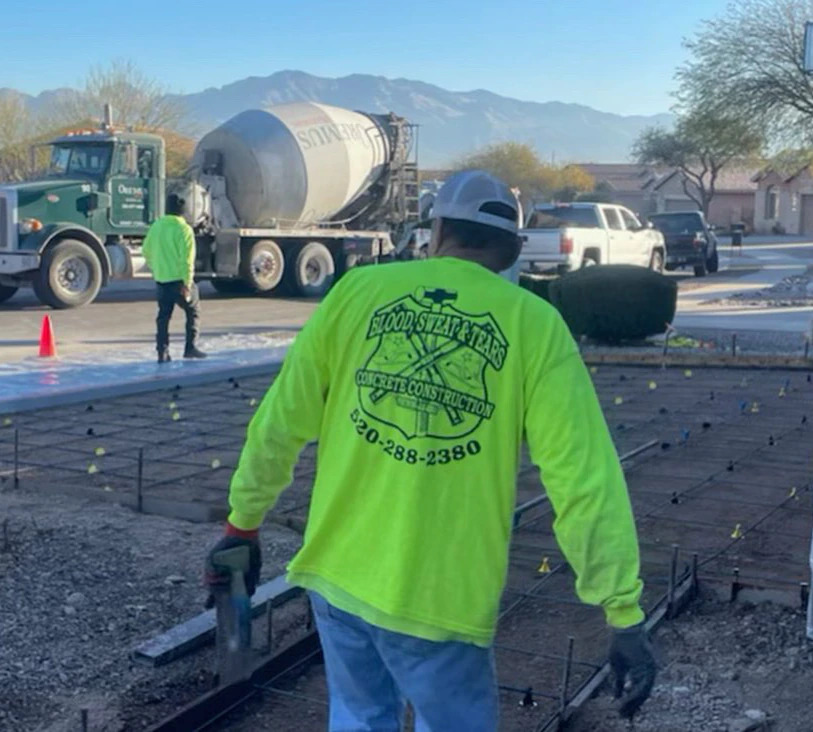
Blood Sweat & Tears Concrete

