Filling in a sunken living room with concrete isn’t rocket science but there are a few important considerations along the way.
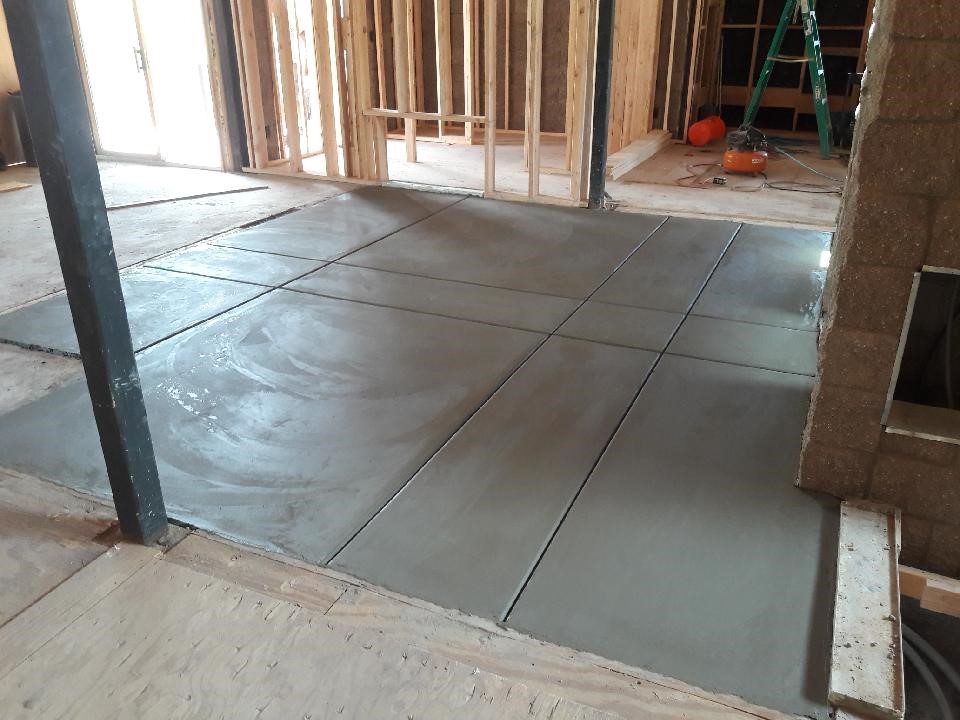
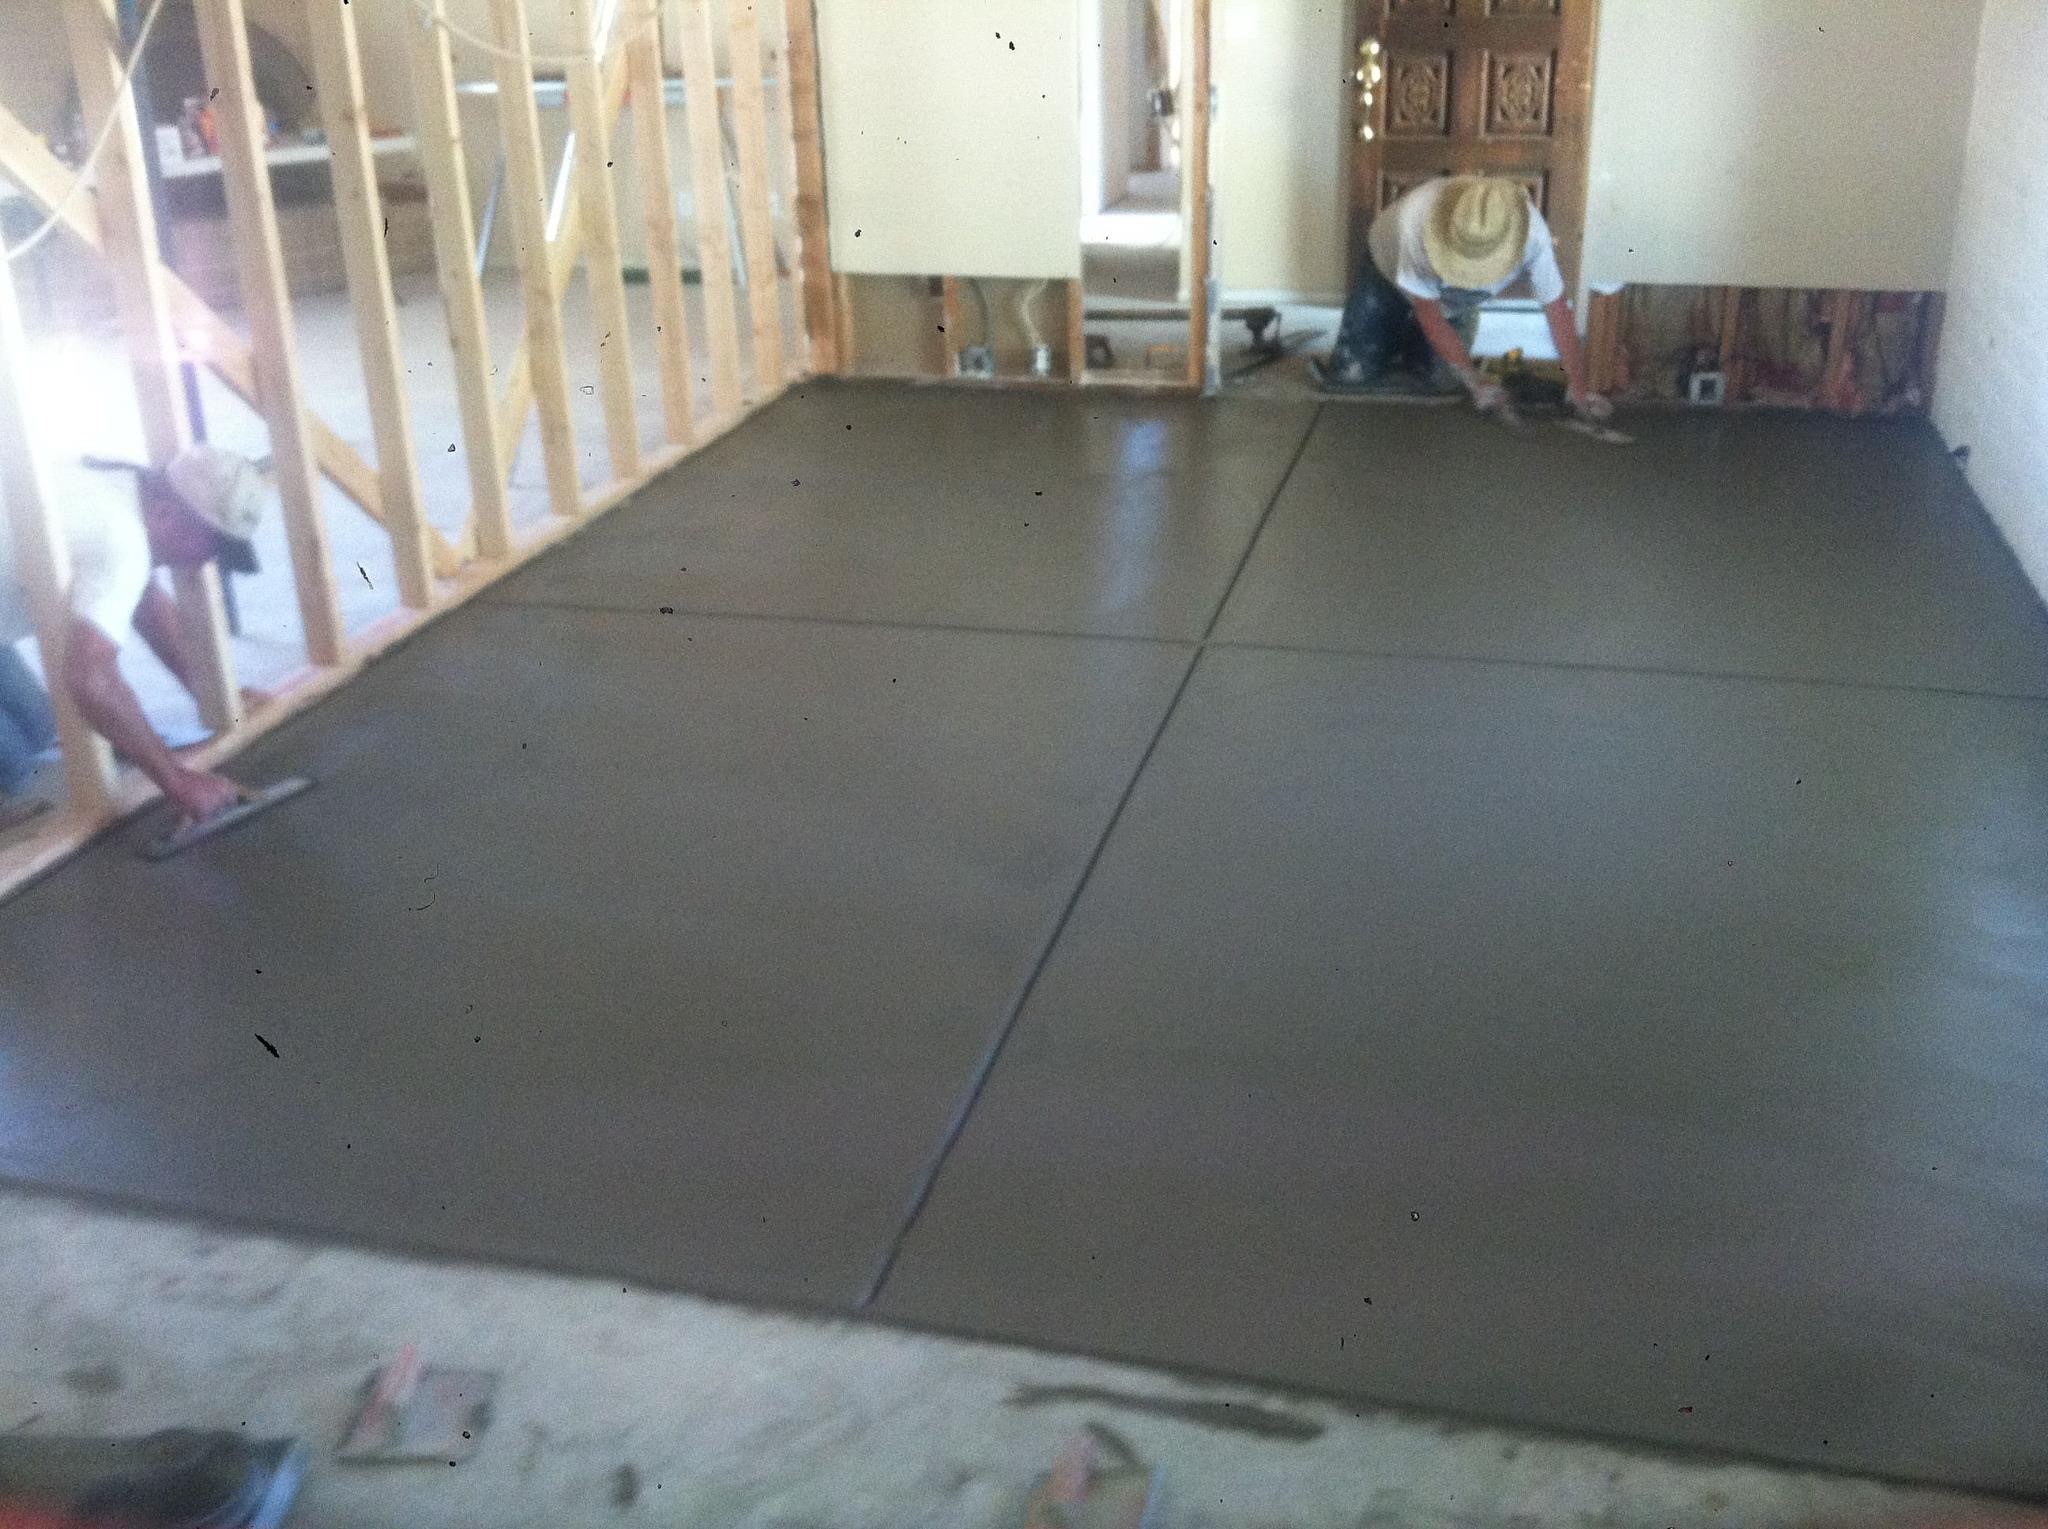
1. Finishing Technique
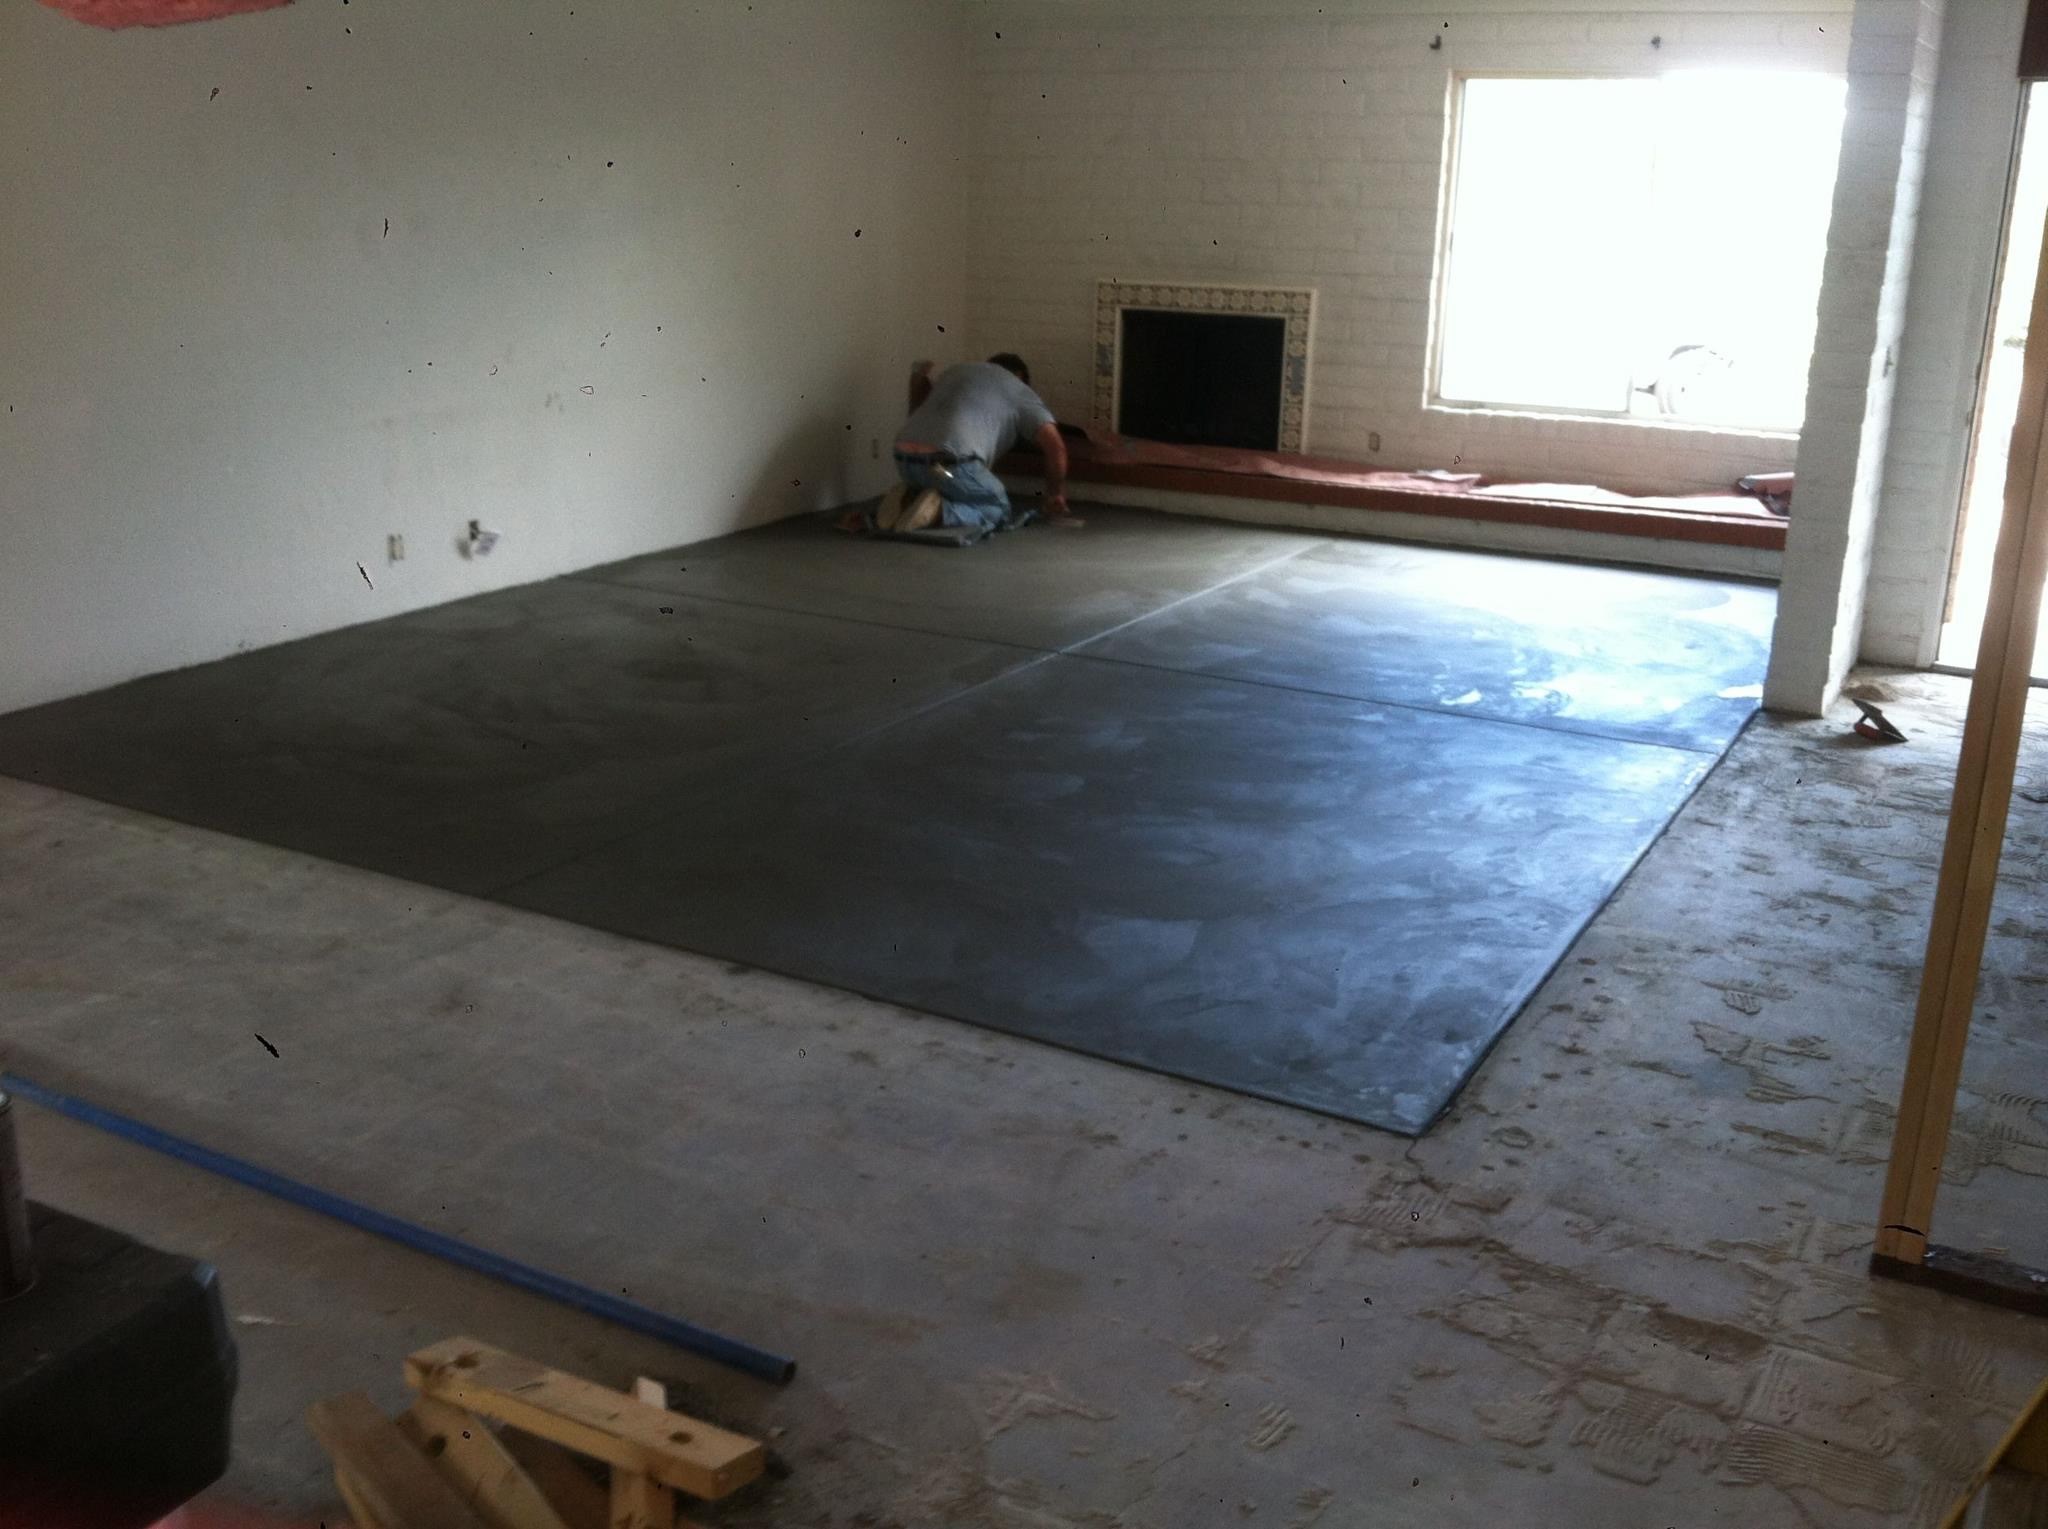
When working under a roof with no dirt below to pull moisture it is important to allow the moisture to escape through the top. Premature troweling will result in the corners of the slab lifting. This is known as curling. If this occurs hollows will form in the corners below the new slab. Removal of the concrete may be required to fix properly.
2. Doweling Edges
There is no substitute for proper technique. You can back it up however by doweling rebar into the sides of the existing foundation where possible. Drilling rebar 6” deep at 20”-24” increments is great for peace of mind.
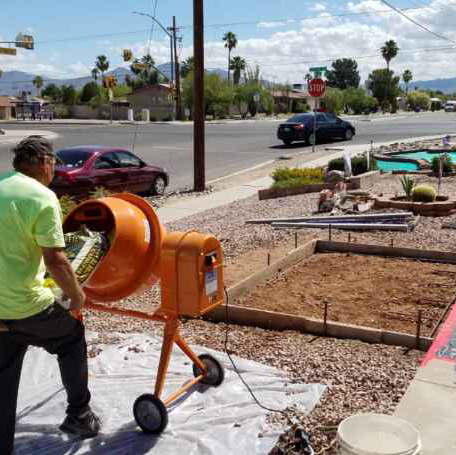
3. Pump Your Project
The last thing you want to skimp on is your concrete work. This is a 30+ year product so it’s not like you have to spend money on it often. Don’t risk wheel barrows beating up your front door and spilling on your sidewalk. Spending an extra $500 is well worth it in most cases.
4. Proper Product
The most important thing you can do is use microfiber reinforcing in the concrete. This allows the water to wick to the surface and safely escape. The micro size assures a clean finish. If your Contractor doesn’t have knowledge of this fact it is definitely something you want to bring to their attention.
5. Expansion Around Perimeter
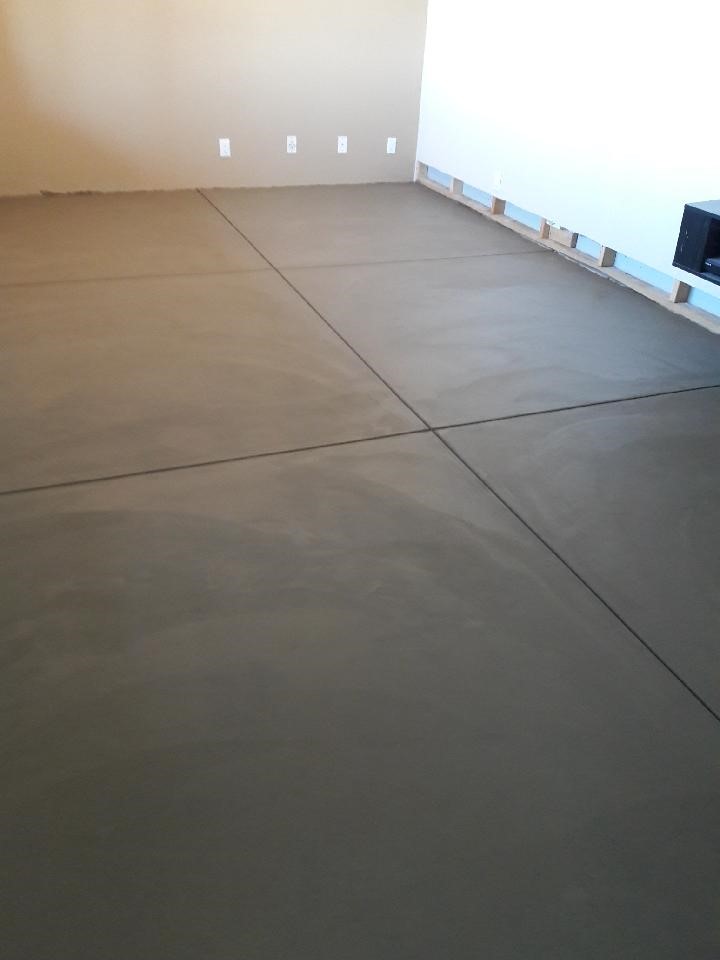
Expansion joint has come a long way. With an ever evolving product like this it is easy to pick out the dinosaurs in your group of potential Contractors. For this application polyethylene (sill seal) or rubberized expansion joint should be used. Fiberboard is not an acceptable alternative. If you have a water leak the fiber will be a mold trap. Asphalt impregnated fiber is slightly better but come on guys… it’s the 21st century.
6. Slip or Glue?
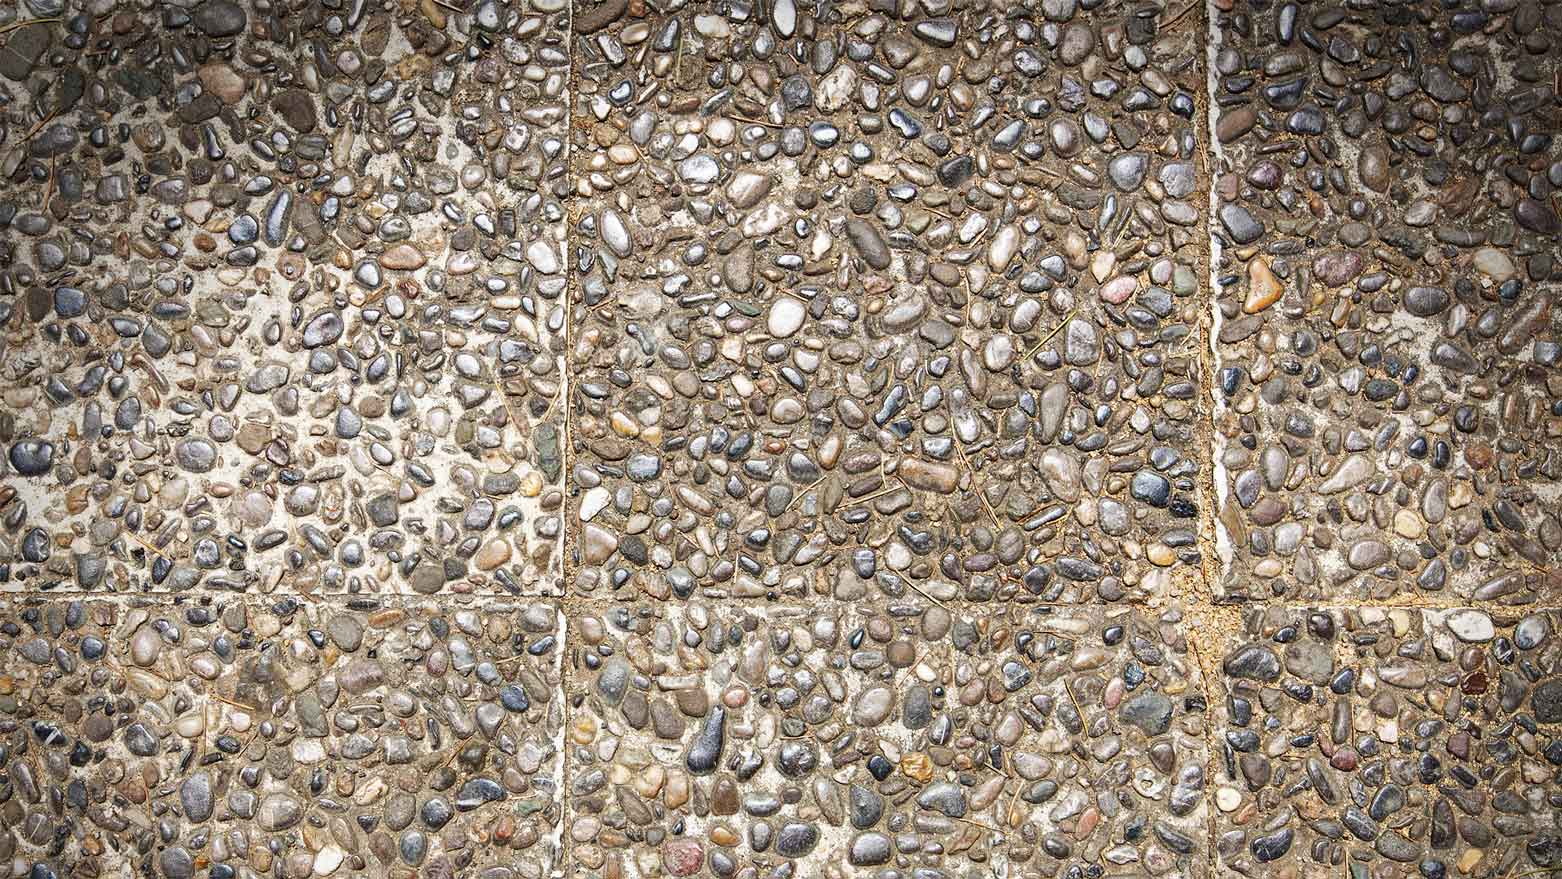
If you have more than 3.5” of depth (which you should) a decision has to be made whether to slip or glue. If you have ample depth sand or other fill can be added to slip the surface and keep cracks from telegraphing. If you are at 3.5”-4” two layers of Poly sheeting can be laid down to break the bond to the cracked original floor. If the floor below is in good condition but your depth is less than 3.5” you want to glue the new floor down with an acrylic bonding agent. Even if it is cracked a conversation needs to be had about the cracks that will Telegraph
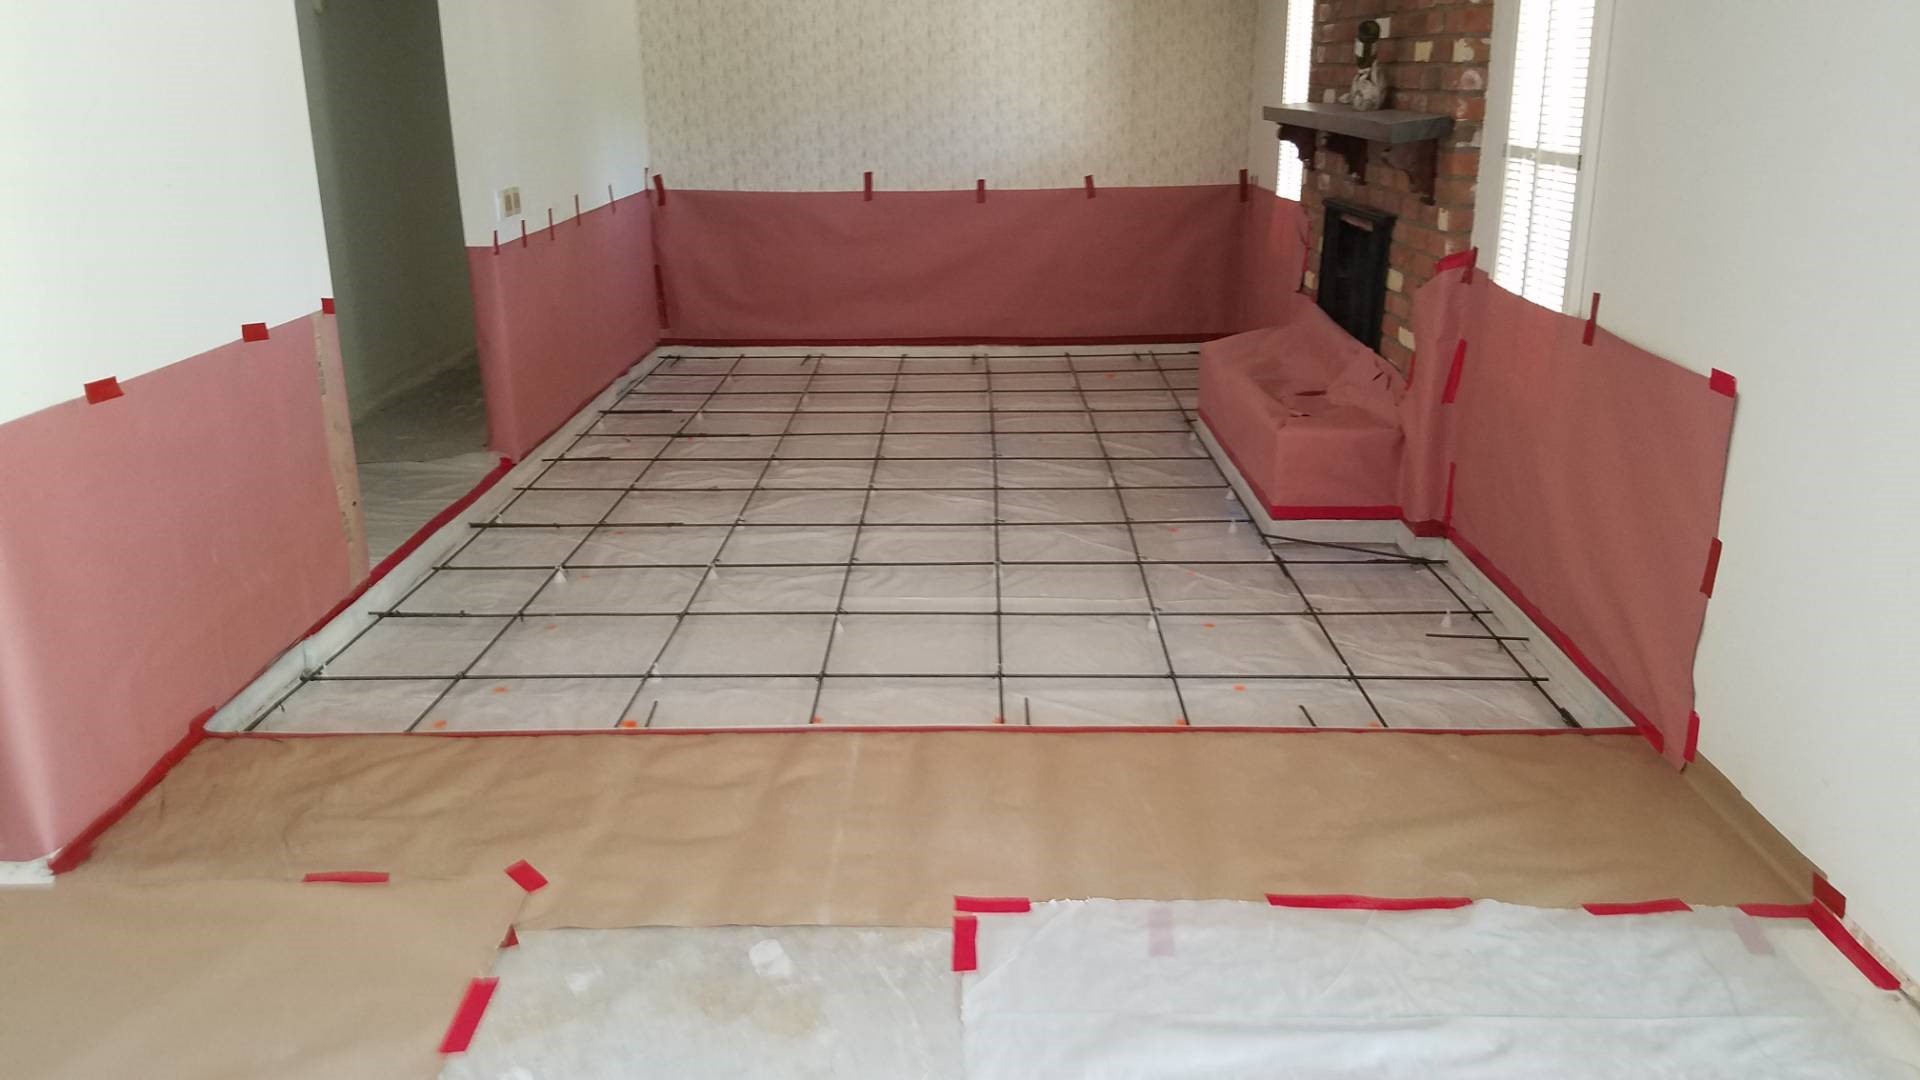
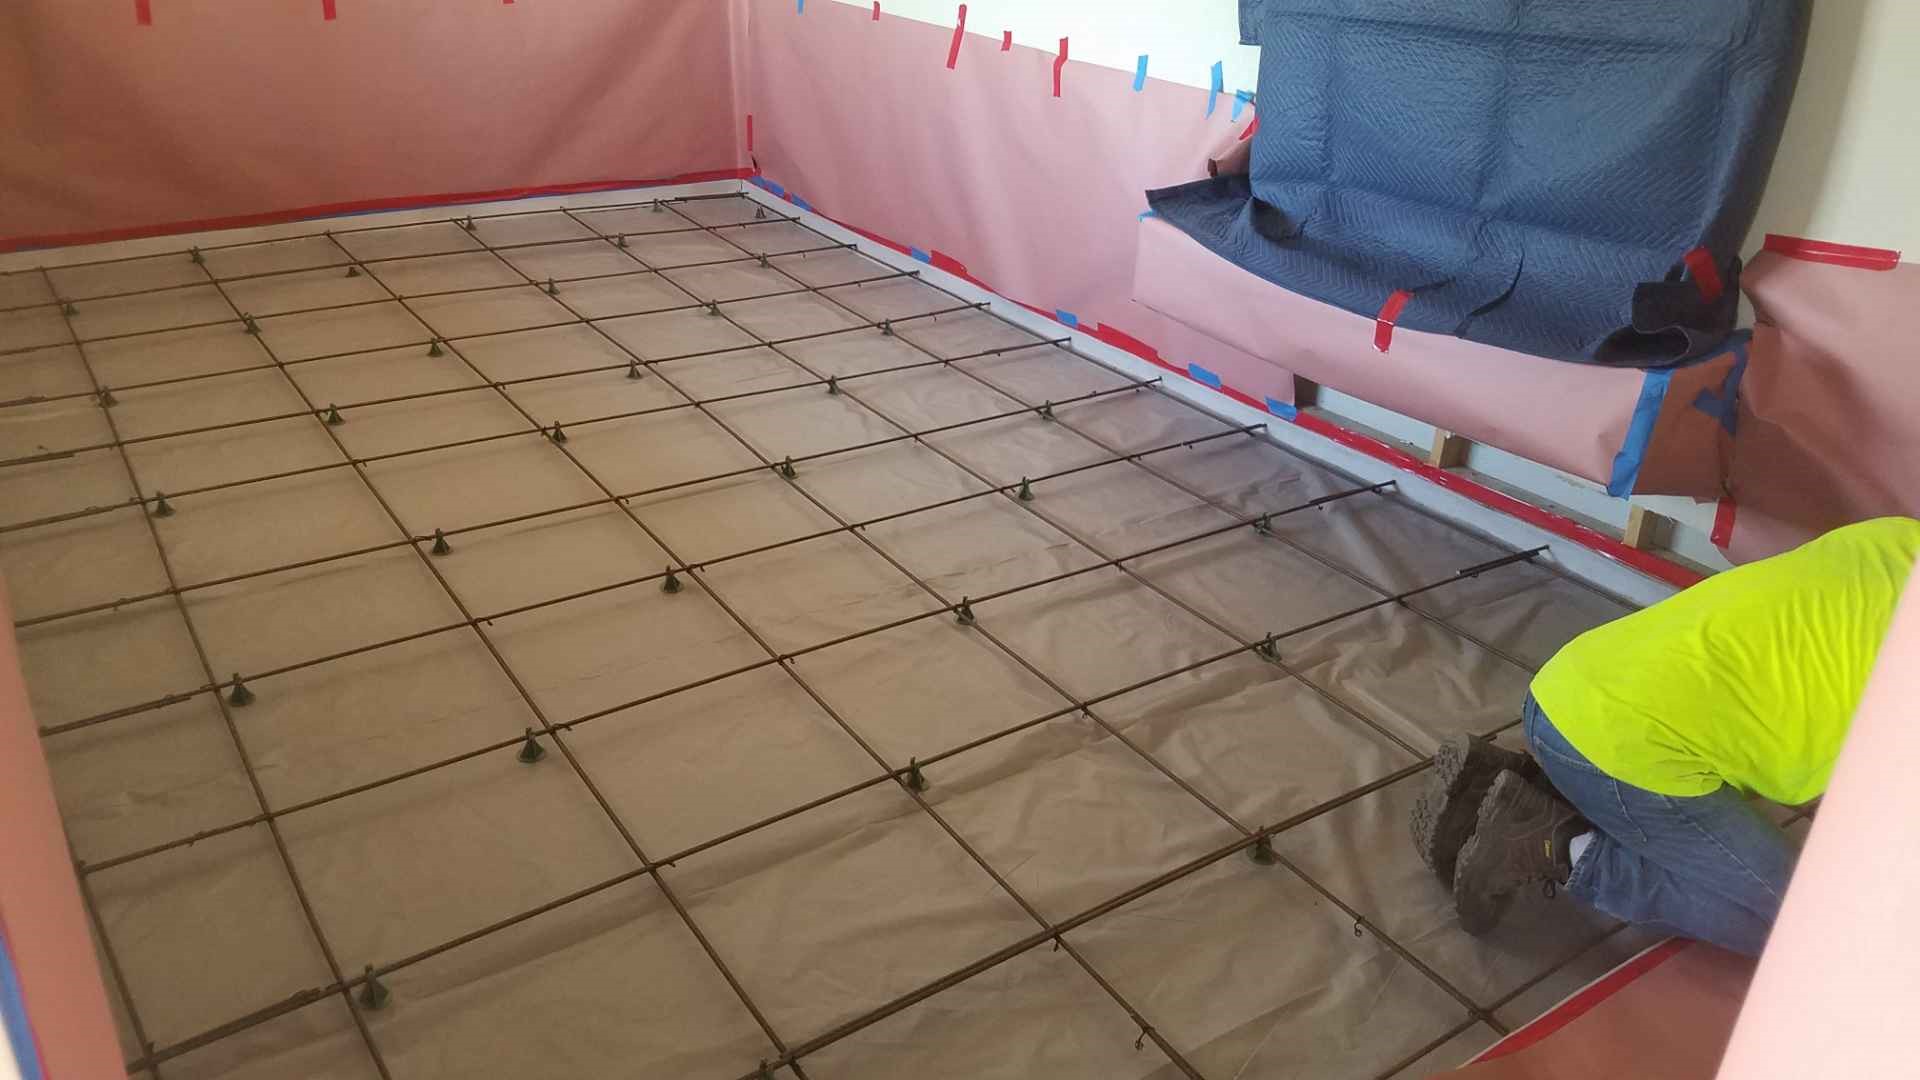
7. Protective Masking
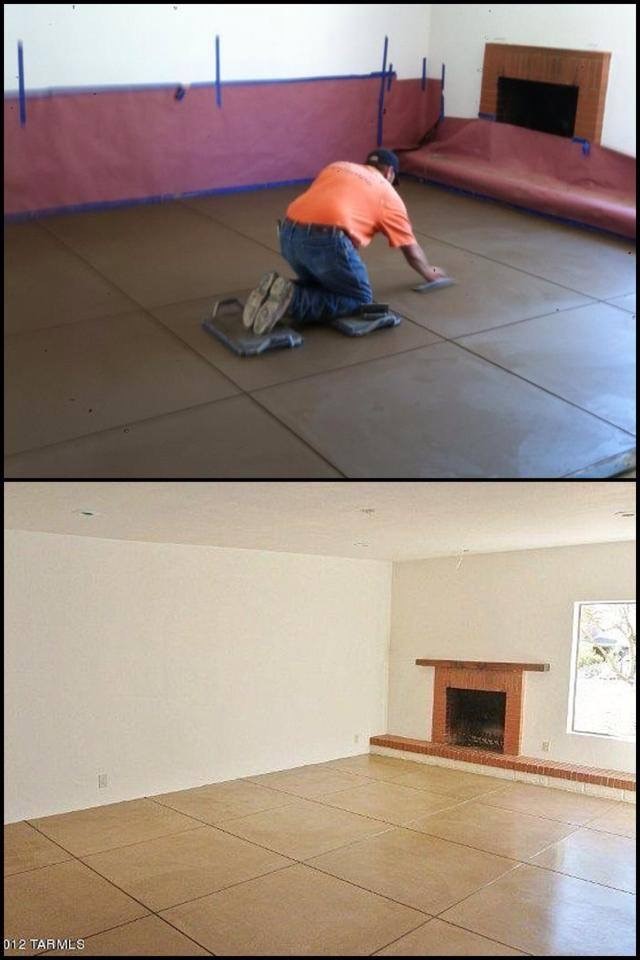
A really good reason not to pick the lowest bid is explained right here. Contractors who care about your property take necessary action to protect it. A roll of 6 mil poly costs $100, rosin paper is $15 per roll, tape is $9 a roll and putting it in place takes labor at $60 per hour. Make sure it is going to get done.
Early on we had a huge learning curve. Our first floor curled. It took years of experience before we had it all figured out. Hopefully this will eliminate your learning curve and assure a rock solid floor in your home.