Stamped, stained and colored concrete look great with a fresh coat of re-emulsifiable solvent based sealer. Unfortunately that luster quickly fades once the Arizona sun and dust come into play. Even though the sealer still protects your project from fading it just doesn’t pop for long. If you have an event coming up or you want to freshen up the look to sell you don’t have to hire a pro. It’s not difficult… you can do it yourself.
Follow the steps below and your concrete will look like new in no time:
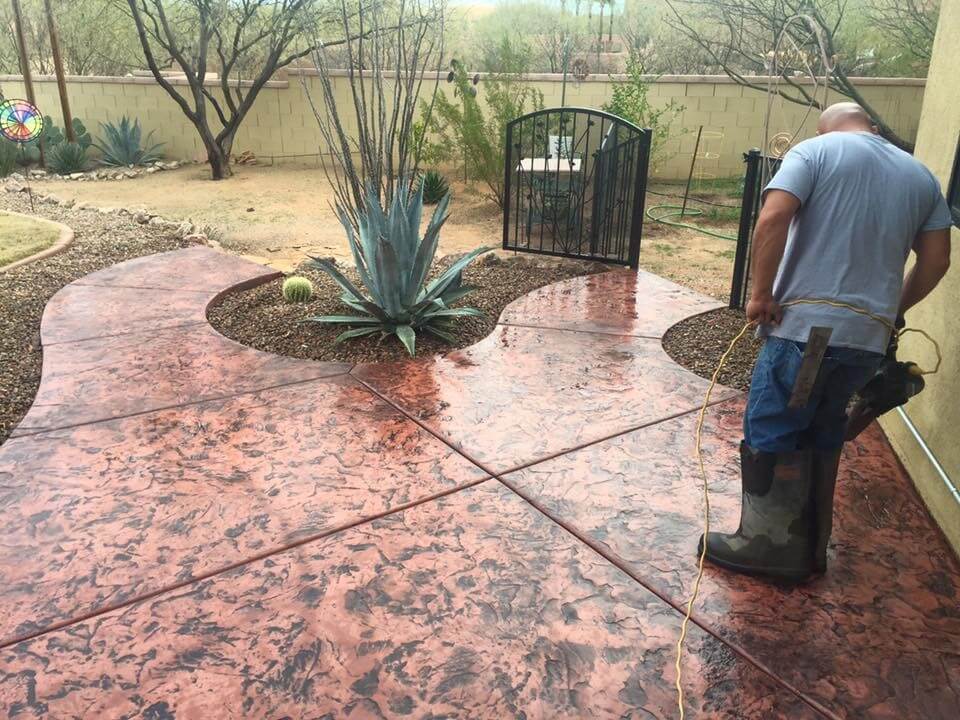
1. Clean surface using a minimum 3000psi pressure washer. Cleaning products like TSP may be required for hard to remove stains. Cover the area with your green pressure washer tip 8”-10” off the surface in a grid pattern from multiple directions to get pores as clean and accepting as possible. Take your time and get this right. It takes 2 hours or more for a seasoned pro to “properly” wash a 1000 sq ft patio.
2. Blow dry with a leaf blower or allow to air dry completely. Any moisture below your new sealer will cause it to cloud and require lifting or removal of sealer to fix. It is our policy to allow it to dry a minimum of overnight. In shaded areas 24 hours or more may be required.
3. Determine whether a sealer or revitalizer should be used. Wet a rag with xylene and press it onto the surface for several seconds. The sealer will get sticky as it re-emulsifies. If there is still a good build of old sealer use a revitalizer (TK has a good product). If the surface is dry and no sealer is apparent 2 coats of sealer can be applied. Talk to a rep at Whitecap (520)792-9448 or Border Products (520)623-4100 in Tucson about your options. You may need to order product so don’t wait until the day before you plan to re-seal.
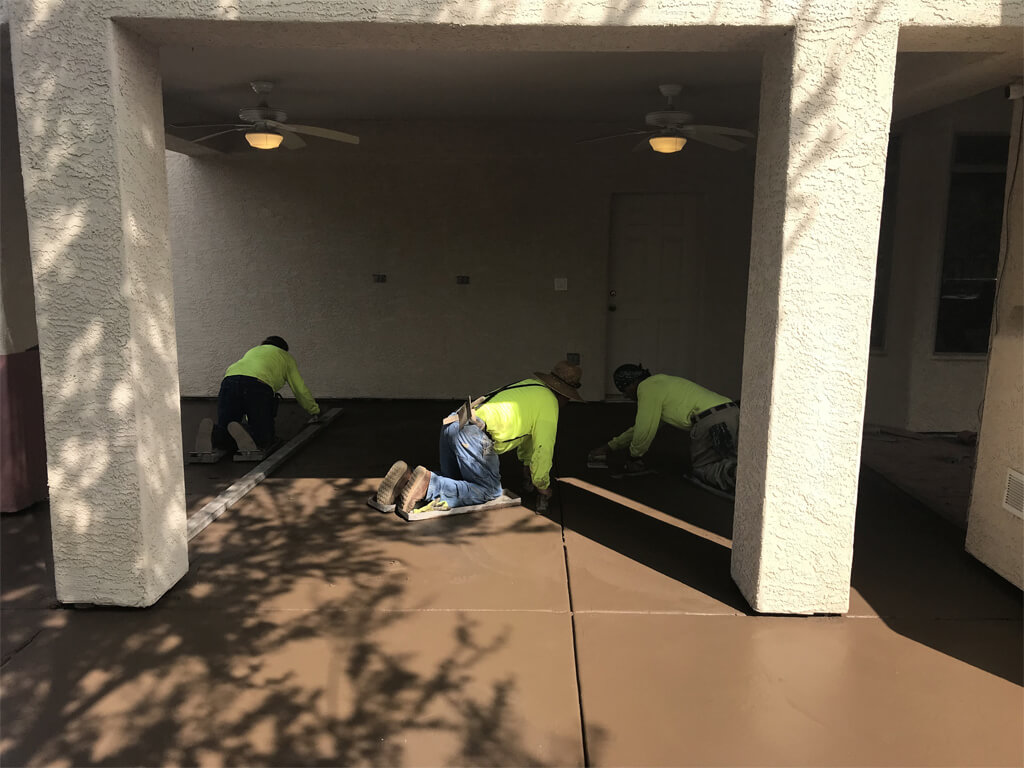
4. Mask area. Protect walls and adjacent surfaces. Once you get sealer on a surface you don’t want it on… it is not easy to get off.
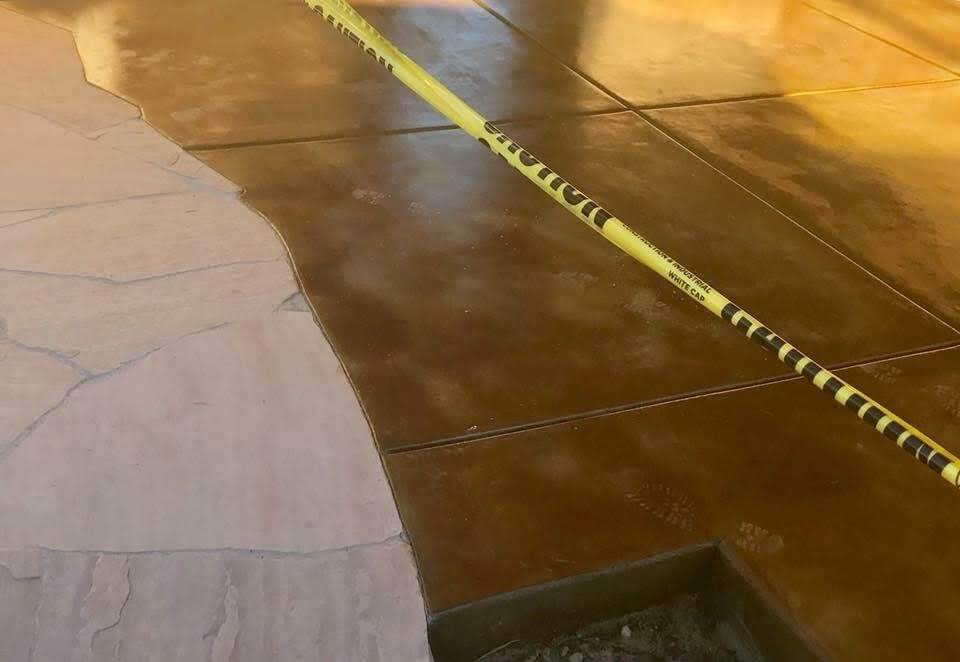
5. Apply new sealer or revitalizer. Give a final blow with the leaf blower and have it handy near the edge incase leaves or debris land on the surface ahead. Spray sealer from a pump up sprayer and back roll with a high quality 3/8” nap paint roller or dip and roll one section at a time right out of the bucket. Have a 2” brush along for coating edges and joints. Thin coats are recommended so apply in the coolest part of the day. A second coat of sealer can be applied once the surface is no longer sticky. Follow manufacturer’s recommendations when using revitalizer. If the area needs to be slip resistant mix an anti-slip product into the final coat.
6. Have plenty of rags on hand and wear gloves and eye protection throughout. Clean up your equipment with xylene if you used a sprayer. We normally just throw the brushes and rollers away though high quality brushes and rollers can be stored in the sealer bucket until next time. Be sure to seal excess sealer container and store in a cool dry place and it will stay good for quite a long time.
With a little planning and the right amount of elbow grease you can put that mesmerizing shine back on in a flash.
Tool (rental?) list :
- 3000 psi Pressure washer
- Leaf blower
Materials:
- Solvent based sealer or re-vitalizer
- Xylene
- Slip additive (optional)
- Cleaning product
- Rags
- Gloves and safety glasses
- Solvent resistant 3/8” nap paint roller
- Roller frame with long handle
- 2” solvent resistant paint brush
- Solvent resistant pump up garden sprayer (optional)
Check with your initial installer to make sure the sealer used is re-emusifiable.
Thank you for taking a look.
Jon Molden
BST Concrete
